Test orders cannot be generated until test inventory has been loaded. We recommend using a file with real inventory data to ensure all data can be handled properly. If you do not have real inventory data, test data can be used.
API: https://dev.logicbroker.com/#72940b7d-0303-5fcf-8eb2-975e02ace89d
EDI: /kb/logicbroker/360022025472-Inventory-Specification#sidenav-article-360022067691
FTP/SFTP: /kb/logicbroker/360022067631-SFTP-FTP
Once connected you will need to upload the matching file to the following directory -
/ManagedInventory/
**The
CSV in portal
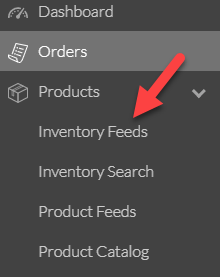
1. Navigate to Products > Inventory Feeds
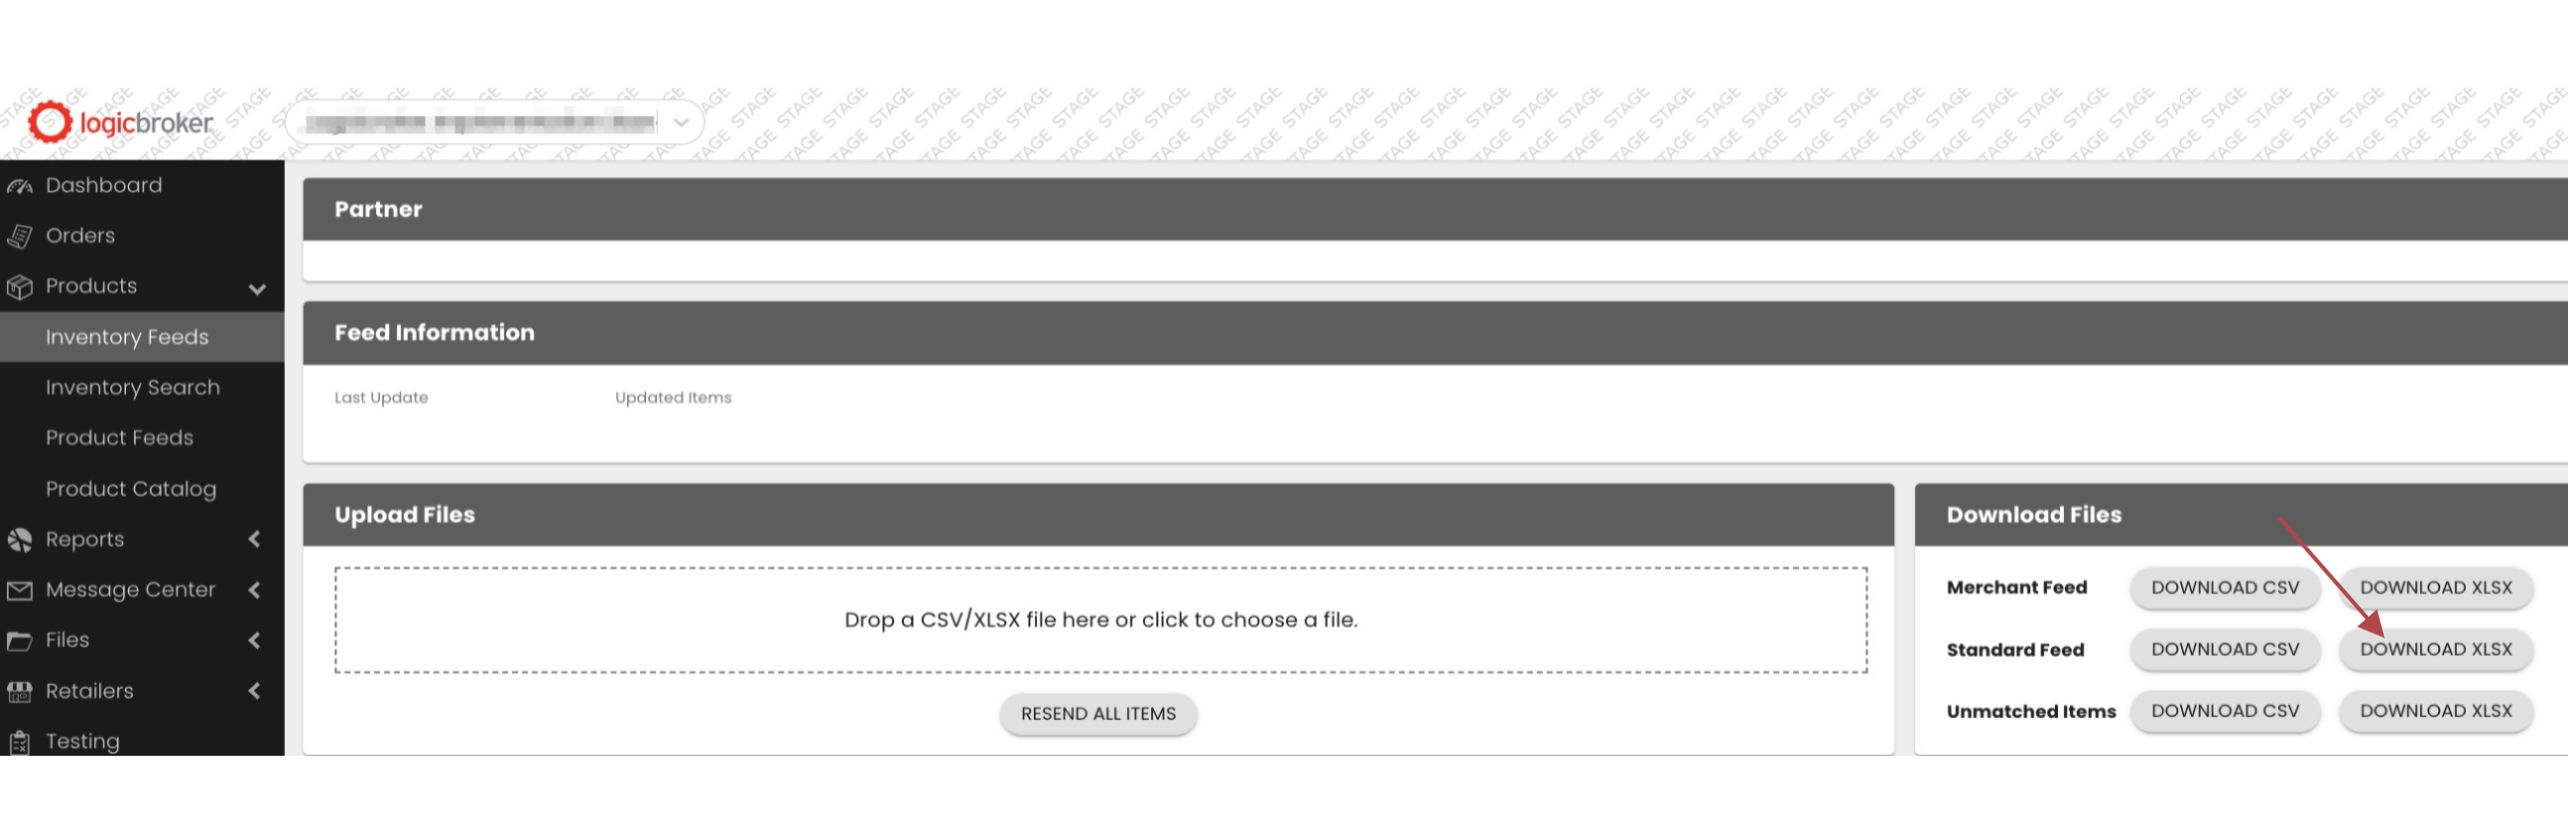
2. From the Download Files section, select Download XLSX (or CSV) to download the appropriate inventory headers in an Excel file.
3. Update the Excel file with the appropriate information.
- For testing, the only required fields are SupplierSKU, UPC, and Quantity. Additional fields may be required depending on Ace Hardware's specifications.
- Be sure to load at least 5 unique SupplierSKUs (anything less may cause issues with test order generation.

4. Drag and drop the Excel file in the Upload Files section OR click inside the dotted box to select a file to upload. Make sure you select Standard Feed and Not "Matching File" from the options once you select your file to upload.

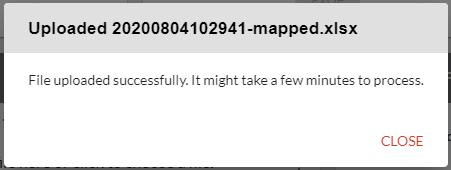
5. A dialogue box will appear with the status of the upload. Click Close.
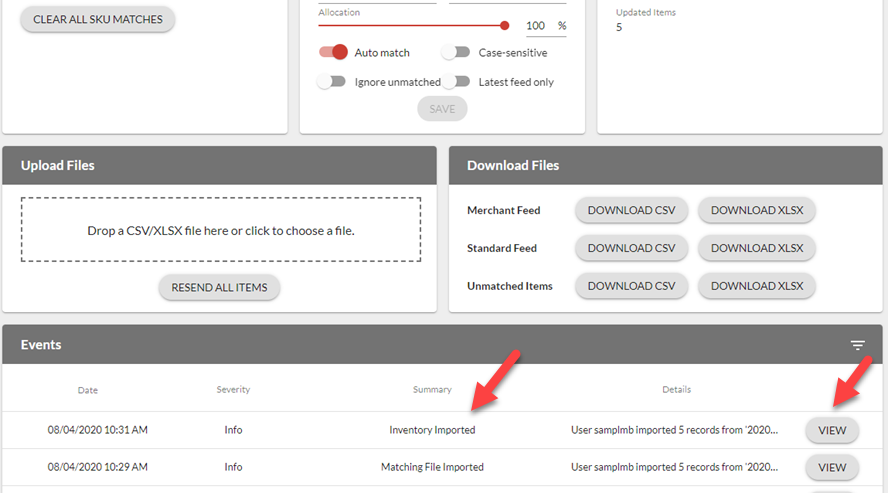
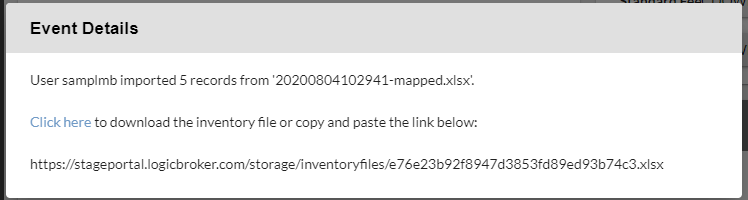
6. From the Events section, you can see that your file successfully loaded and you can review the file that was uploaded by clicking on View.
- A dialogue box appears where you can download the file that was originally uploaded.
Step 4: Set Up Notifications