Note: You will need to upload and send a live inventory feed once you move to the production portal as feeds do not carry over from stage to production.
Review ITA Group's Inventory Specifications
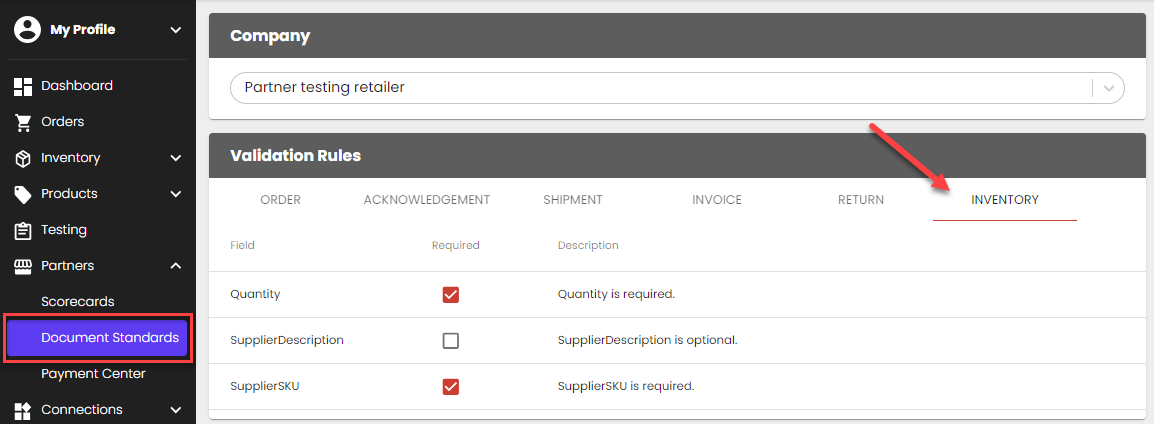
- Portal, API Suppliers: Review ITA Group's inventory requirements from the Document Standards page in the portal.
- EDI Suppliers: Review your ITA Group's 846 specifications from the EDI page.

Create your Inventory File
- Portal Suppliers: Download a CSV/XLSX template from the Inventory Feeds page > Upload Files > Download Template > Retailer-Specific Inventory


- API, EDI Suppliers: Your development and EDI teams should work on mapping all API/EDI specs and getting the file ready to send from your system.
Upload and Send your Inventory File
- Portal Suppliers: Upload your template file into the portal from the Inventory Feeds page > Upload Files > Supplier Feed. Note: Excel uploads are preferred since CSV may cause scientific notation errors
- API, EDI Suppliers: Send the inventory file through your established connection. Ensure you are sending it to the correct environment (if you are testing, please send inventory to our stage environment).
Confirm your Inventory File was Uploaded/Sent Successfully
In the portal, from the Inventory Feeds page, go to Events > look for the Inventory Imported event to ensure your file was uploaded successfully. Review any errors and reupload/resend if necessary.

ITA Group Will Approve your Inventory
ITA Group will review and approve the inventory sent. They will reach out if there are any issues or if any changes need to be made.