Before we move you to production, we require you to pass three core test cases in our staging environment:
● Test Case 1 - Single Line PO: The purpose of this test is to accept, ship, and invoice a single-line purchase order.
● Test Case 2 - Multi Line PO: The purpose of this test is to accept, ship, and invoice a multi-line purchase order.
● Test Case 3 - Split Shipping and Invoicing: The purpose of this test is to accept, ship, and invoice all line items from the order with 1 acknowledgement, 2 shipments, and 2 invoices.
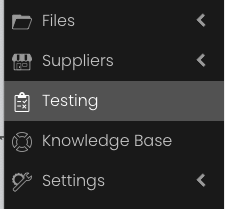
To get started, login to the test environment (stageportal.logicbroker.com) and click testing on your left-hand navigation. This will bring you to the testing section of the portal.
Once there, click "view" on the next screen and you should see a screen like this below. Click the "Create Test Order" button to get started with test case 1.

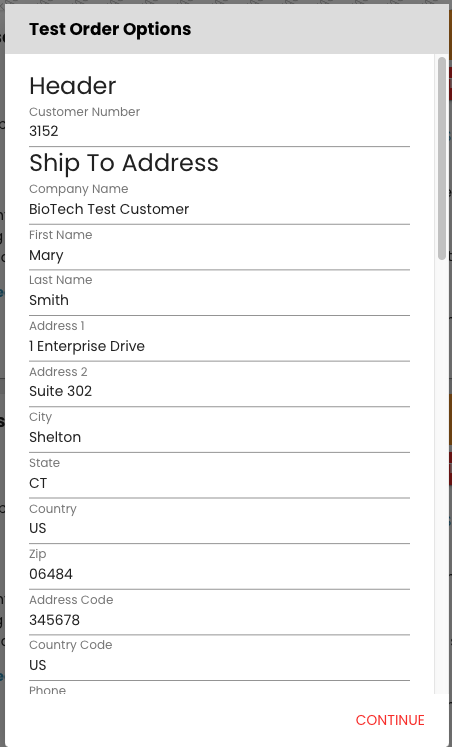
Once you click "Create Test Order", then you will get the overlay below where you can customize the details of the test order. Many partners have specific items / SKUs that they want to test with end-to-end and you can specify those here:
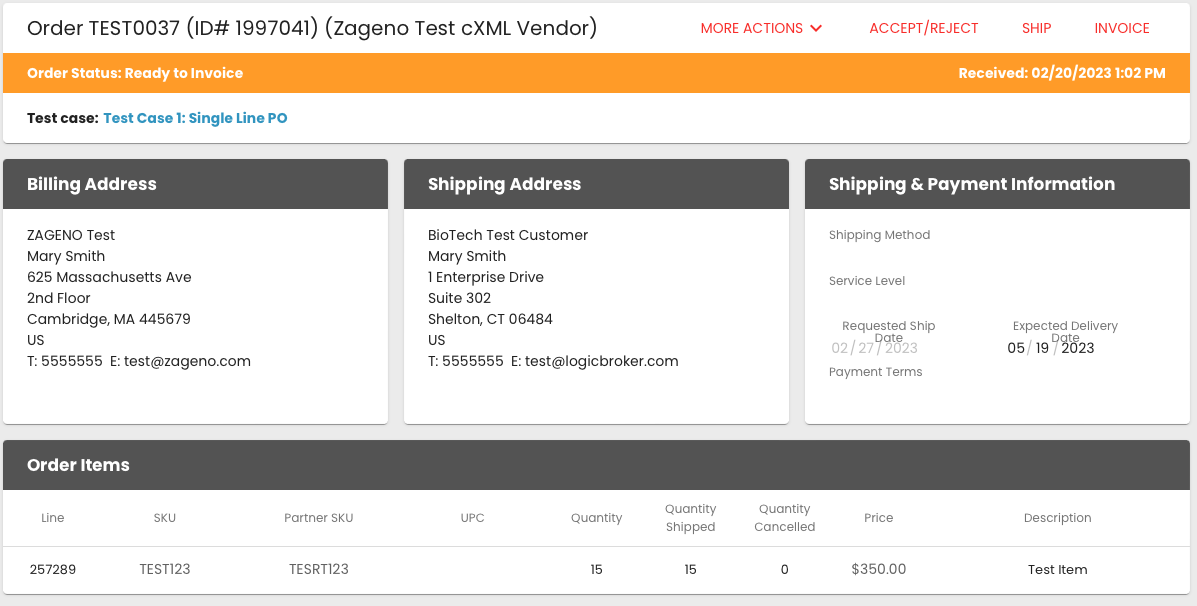
When you’re ready, hit the "Continue" button at the bottom of the overlay. This will both create the test order in the portal so you can see a visualization of it (below) and it will transmit it to your system that is connected to Logicbroker, if you’re integrating with ZAGENO.
Next, you’ll need to respond back to this PO with an acknowledgement / confirmation, ship notice, and invoice. If you’re using the portal (and no integration) work from the PO screen above. If you are integrating with ZAGENO, you’ll need to transmit back - in the correct order - these three documents.
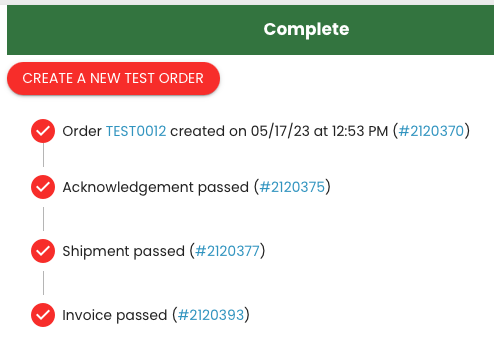
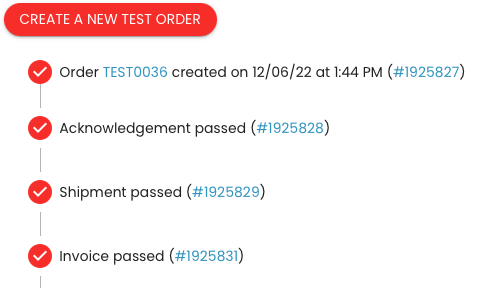
Once you transmit your documents, they will go through auto-validation by the system to ensure all required information is included. If the document passes validation, you will see a screen like below in the testing section of the portal, with check marks noting successful documents:
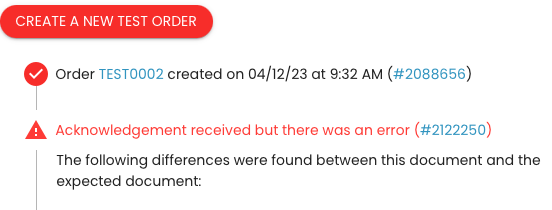
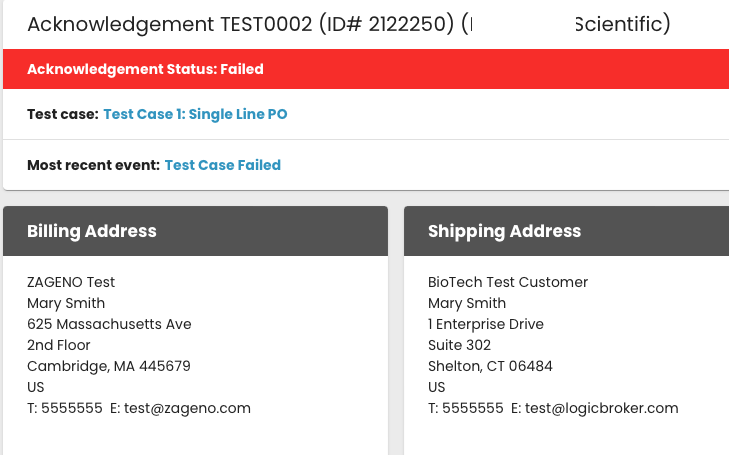
If a response document fails for any reason, you’ll see the failure noted below. You can also go into the document and see: more detail on the failure, also noted below:
Once you’ve completed all the response documents for a given test case, it will turn green and show in a completed state: